Everything you need to know about power supplies for tattoo machines

Every tattoo artist focuses on machines, needles, and inks — but often overlooks one of the most critical components: the power supply. It controls how your machine performs and influences the comfort and quality of every tattoo. If you’ve ever searched for a tattoo power supply guide for beginners, you’re in the right place.
In this complete guide, you’ll learn what is a tattoo power supply, how does a tattoo machine power supply work, how to set it up, and what to look for when choosing the right one for your studio. We’ll also explain common troubleshooting tips and how to maintain your equipment to ensure long-term reliability.
What is a Tattoo Power Supply
A tattoo power supply provides a stable flow of electricity to your machine. It controls needle speed, impact strength, stroke consistency, and overall client comfort. Think of it as the engine controller of your tattoo machine, letting you fine-tune voltage and current for lining, shading, and color packing. Without a quality power supply, even the best machines will struggle to deliver consistent results.
Modern power supplies also offer advanced features like jump start, duty cycle monitoring, and dual machine input, making them indispensable tools for professionals. By mastering your power supply, you can achieve cleaner lines, smoother shading, and a more comfortable experience for your clients.
How Does a Tattoo Machine Power Supply Work
Tattoo machines run on DC power. The power supply converts AC current from your wall outlet into DC current and allows you to adjust voltage. Higher voltage means faster and stronger needle movement.
A high-quality power supply ensures ripple-free voltage, consistent amperage, and precise voltage adjustment. It prevents voltage fluctuations that could otherwise cause inconsistent machine performance. Stable power is crucial for achieving professional tattoo results.
In addition, advanced power supplies offer features like jump start for rotary machines and duty cycle display for coil machines. These options allow you to fine-tune your setup for optimal efficiency. Understanding these functions is essential for taking full advantage of your equipment.
Tattoo Power Supply Types
Analog vs Digital Tattoo Power Supply
Analog supplies are simple and affordable but lack advanced controls. Digital supplies offer precise voltage adjustment, memory presets, duty cycle display, and jump start features — making them the top choice for most professional artists.
Analog power supplies appeal to artists who prefer a minimalist setup and are often used with coil machines. Digital power supplies provide greater versatility, making them ideal for artists who use both coil and rotary machines. They also simplify voltage adjustments, helping to maintain consistency during long sessions.
Wireless vs Wired Tattoo Power Supply
Wired supplies offer unlimited runtime and maximum stability, ideal for both coil and rotary machines. Wireless supplies (battery packs) provide freedom of movement, perfect for travel and conventions.
Do wireless tattoo machines need a power supply? No — the battery pack acts as the power source, but a wired backup is still useful. Many professionals rely on wired setups for long studio sessions and use wireless for guest spots or travel. Choosing the right combination depends on your personal workflow and preferences.
How to Set Up Tattoo Power Supply
Connecting Your Machine
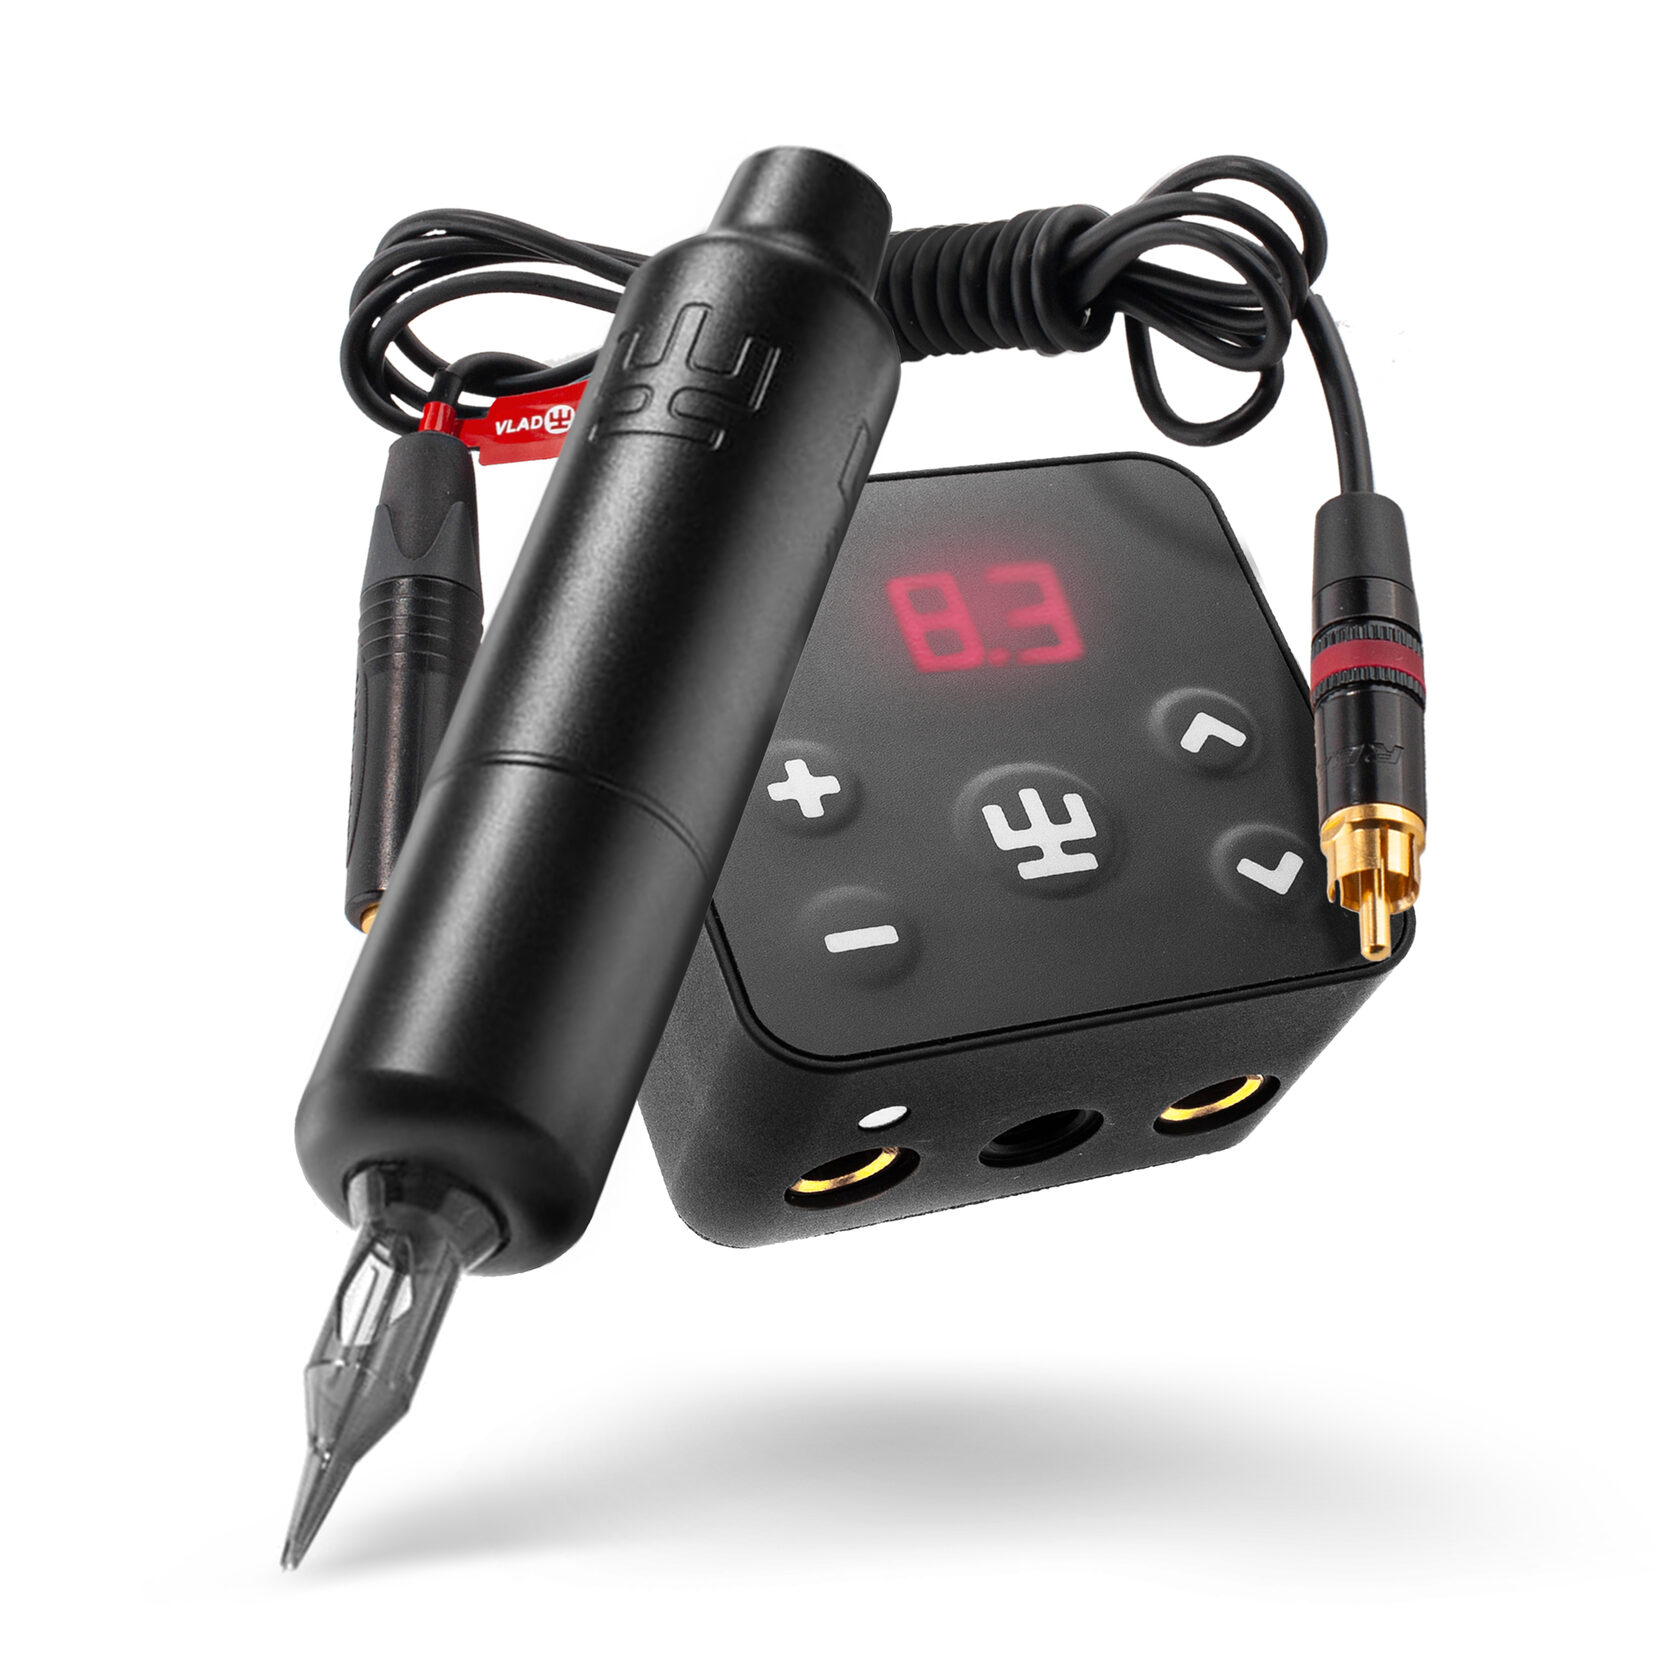
Use RCA connection for rotary and pen machines, clip cord for coil machines, or a battery pack for wireless use. Check your power supply’s compatibility.
Proper setup involves ensuring secure connections to prevent power loss during a session. Take time to verify that your cables are in good condition and that connections are tight. Poor connections can lead to inconsistent power flow" and affect the quality of your work.
Using a Foot Pedal
A foot pedal lets you control your machine hands-free. Many modern supplies allow pedal bypass, enabling continuous operation without a foot switch.
Whether you use a foot pedal depends on your personal workflow. Some artists prefer the tactile control it offers, while others appreciate the simplicity of operating without one. Modern power supplies give you the flexibility to choose.
Dual Machine Input
Advanced supplies let you connect both a liner and a shader and switch between them without unplugging cords.
This feature is particularly useful for artists who frequently switch between machines during complex designs. It enhances efficiency and reduces wear on your equipment, contributing to a smoother workflow.
Tattoo Machine Amp and Voltage Settings
Voltage Settings
Typical ranges:
- Lining: Coil 6–8V, Rotary 7–9V, Pen 6–9V
Shading: Coil 5–7V, Rotary 6–8V, Pen 5.5–7.5V
Start low and increase gradually. Correct tuning ensures optimal tattoo quality and client comfort. Always refer to your machine’s manual for recommended settings and adjust based on skin type and needle configuration.
Amperage Requirements
Rotary/Pen machines: 0.5–1.5A; Coil machines: 1–2.5A. Coil machines require more power and stable voltage.
Monitoring amperage ensures that your power supply can handle the demands of your machine. Inadequate amperage can lead to inconsistent performance or damage to your equipment. Invest in a power supply that exceeds your machine’s requirements to ensure long-term reliability.
Jump Start and Duty Cycle
Jump Start
A jump start delivers a brief voltage spike to help rotary and pen machines start smoothly. Disable for coil machines.
This feature is especially valuable for rotary machines that require extra torque to initiate movement. Without jump start, you might need to manually increase voltage, which can affect shading and fine line work. Understanding when and how to use this feature optimizes your machine’s performance.
Duty Cycle
For coil machines, duty cycle indicates how long the machine is on during each cycle. Proper tuning ensures consistent performance.
Monitoring duty cycle helps you adjust your machine’s hit and responsiveness. A balanced duty cycle prevents overheating and prolongs machine life. Digital power supplies with real-time duty cycle display offer a clear advantage for artists seeking precision.
Power Supply for Coil and Rotary machines
Coil Machines
Choose a supply with 2–3A output capacity, duty cycle display, and ripple-free DC output.
Coil machines demand high power stability to operate effectively. A supply with insufficient capacity can cause voltage drops, affecting line consistency and shading smoothness. Investing in a quality power supply ensures your coil machine performs at its best.
Rotary Machines
Look for precise voltage control, jump start, and stable DC output.
Rotary machines are sensitive to voltage fluctuations. A high-quality power supply maintains steady output, enabling consistent needle movement. Features like memory presets and compact design further enhance usability, making it easier to adapt to different tattooing techniques.
For an in-depth look at machine options and more recommendations, check out our full guide to best tattoo machines.
Battery powered Tattoo Machines
Wireless machines provide unmatched portability. Most use RCA connection with battery packs. Runtime typically ranges from 4–8 hours.
When selecting a wireless setup, consider battery life, recharge time, and ease of replacement. Having spare batteries on hand ensures uninterrupted workflow, especially during extended sessions or conventions. Compatibility with your machine is also essential.
Charging Tips
Avoid full discharge, don’t overcharge, and store partially charged for longer battery life.
Proper battery maintenance extends lifespan and maintains performance. Use high-quality chargers and follow manufacturer guidelines. Regularly inspect batteries for signs of wear or damage to prevent unexpected power loss during sessions.
Do all tattoo machines use same power supply?
No. Coil machines need more power. Most modern digital power supplies can safely run both coil and rotary machines.
Understanding compatibility prevents equipment damage and ensures optimal performance. When in doubt, consult your machine’s manufacturer or test with a trusted power supply. Investing in a versatile, high-quality power supply ensures seamless operation across your entire machine collection.
How to Adjust Voltage on Tattoo Power Supply
Turn on your supply, start at low voltage (6–7V for lining, 5–6V for shading), and adjust gradually while testing. Use a tattoo power supply voltage chart as a guide, but fine-tune based on your setup.
Pay attention to machine sound and needle movement during adjustments. A consistent hum or smooth rotation indicates optimal voltage. Keep a log of your preferred settings for different machines and techniques to streamline your workflow.
Why Is My Tattoo Machine Losing Power?
Common causes include poor cable connections, dirty contact points (coil machines), underpowered supply, and incorrect duty cycle.
Regular maintenance and equipment checks prevent most power loss issues. Inspect cables, connectors, and power supply settings before each session. Addressing minor issues promptly avoids disruptions and maintains professional standards.
Does Voltage Affect Tattoo Pain?
Yes. Too high voltage increases skin trauma and pain. Correct tuning ensures smoother performance, cleaner results, and greater client comfort.
Balancing voltage based on skin sensitivity and tattoo type enhances client experience. Lower voltage for sensitive areas reduces discomfort, while maintaining sufficient power ensures smooth needle penetration. Conversely, using too low voltage may cause the needle to drag or skip, resulting in inconsistent lines and increased skin irritation from repeated passes.
Artists should test voltage on practice skin and adjust for each client’s pain tolerance and skin condition. Communication with the client is key — adjusting technique and voltage based on feedback leads to a more comfortable and satisfying session for both artist and client.
How to Maintain Tattoo Power Supply
Regular maintenance ensures your tattoo power supply remains reliable over time. Keep the unit clean by wiping it down with isopropyl alcohol after each session. Use barrier film during use to prevent ink and blood contamination.
Inspect cables and connectors weekly. Frayed or damaged cables can cause inconsistent power flow". Replace them as needed. Periodically test the power supply’s voltage output using a multimeter to ensure it delivers consistent power.
If using wireless battery packs, follow manufacturer guidelines for charging. Avoid full discharges and overcharging. Store batteries partially charged if not in use for extended periods. Proper maintenance extends battery life and prevents unexpected failures during
What to Look for in a Tattoo Power Supply
Choosing the right power supply is vital for achieving professional tattoo results. Look for ripple-free DC output, high amperage capacity, precise voltage control, and features like jump start (for rotary/pen), duty cycle display (for coil), and dual machine input.
Ensure compatibility with both RCA and clip cord connections and consider the flexibility of wireless options. Reliable brands provide the best long-term performance and support.
For more expert insights, visit Vlad Blad and explore our blog for detailed guides and product reviews.
Your power supply influences every aspect of your tattooing. Choose wisely, maintain your equipment, and deliver the best possible experience to your clients.
Leave a Comment