Assembling and Preparing Your Tattoo Machine: A Comprehensive Guide by Rusana

Welcome! If you're ready to level up your tattoo setup, you're in the right place. I'm Rusana, and in this step-by-step guide, I’ll walk you through the essentials of assembling and preparing your tattoo machine like a pro — with a focus on hygiene, efficiency, and control.
Contents
- Essential Items for Setup
- Initial Steps and Hygiene
- Assembling the Machine
- Preparing the Needle
- Installing the Grommet and Needle
- Adjusting Needle Protrusion
- Using Rubber Bands
- Connecting the Clip Cord
- Final Checks
- Setting up a Clean Zone
- Video
- Step-by-step Guide
Essential Items for Setup
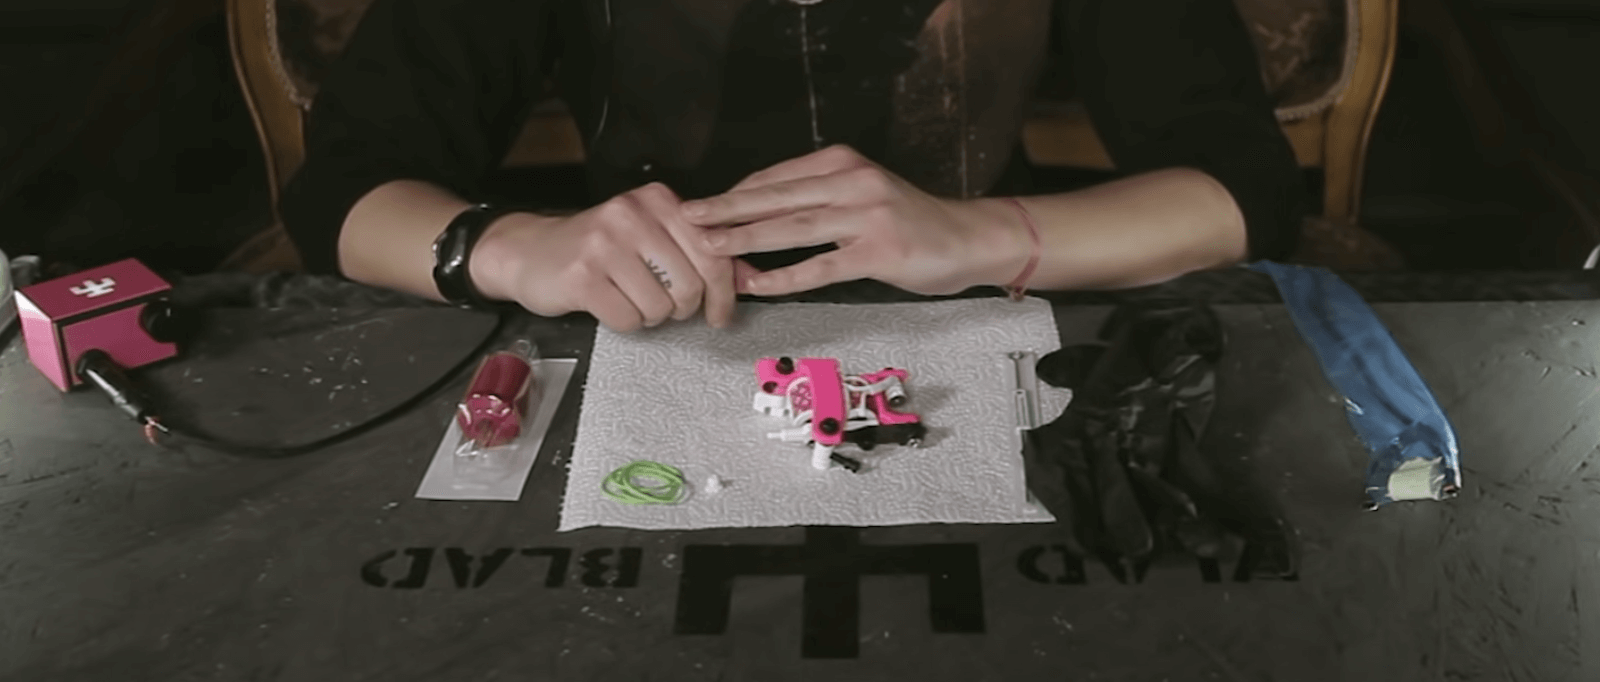
Initial Steps and Hygiene
Always begin with thoroughly washed hands. Wear gloves before handling any equipment. Unpack single-use supplies in front of your client to demonstrate sterility. For reusable steel grips, present them in sterilized pouches.
Assembling the Machine
Cover the clip cord with a protective barrier. This is critical for hygiene. Assemble your machine with gloves on to avoid contamination. Unpack the grip and needle carefully before moving to the next step.
Preparing the Needle
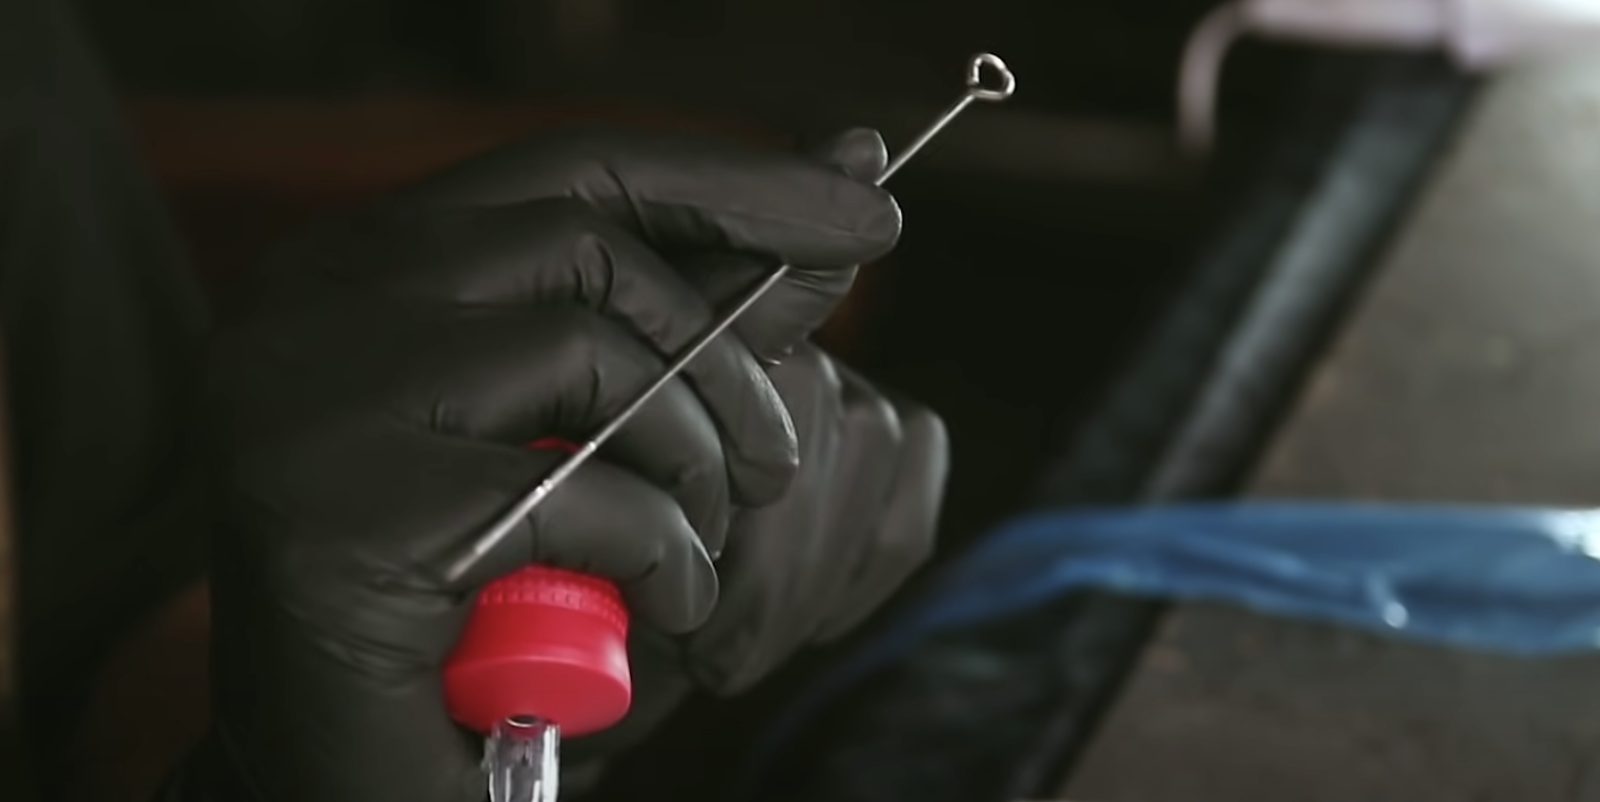
Make two light bends in the needle:
- One where the rubber band will rest
- One near the solder joint, with a slight arc
This helps the needle move straight, avoiding side play, leaks, and shaky lines.
Installing the Grommet and Needle
Insert the grommet into the needle’s eye. When placing the needle into the grip, make sure the solder faces downward for proper alignment. Set your preferred out-hang length before securing it.
Adjusting Needle Protrusion
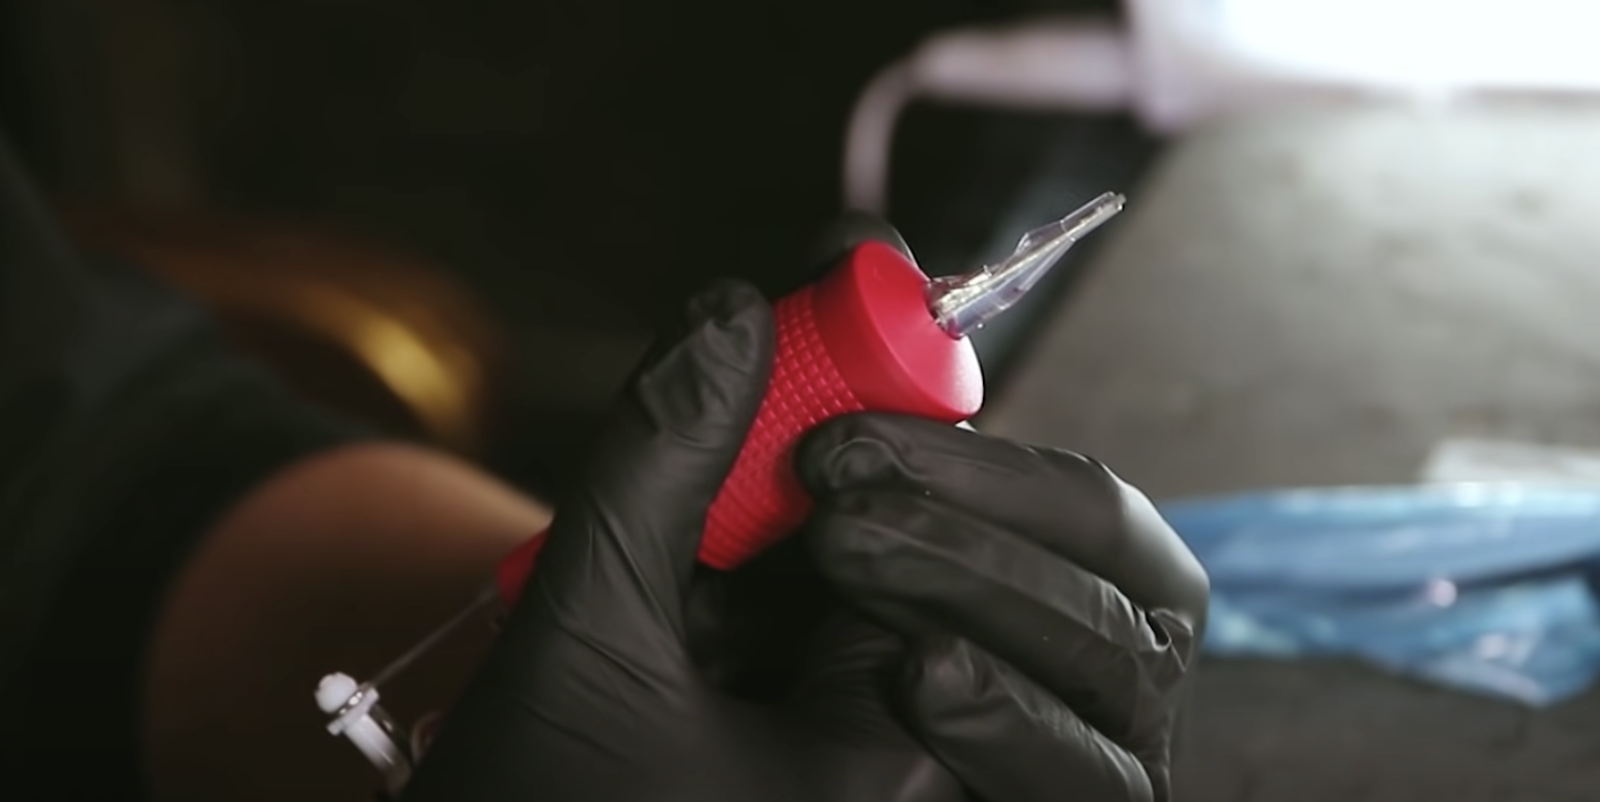
In idle position, the needle should stick out about 1–1.5 mm. This gives reliable skin penetration. Tighten the grip screw firmly to keep everything in place, especially with disposable grips.
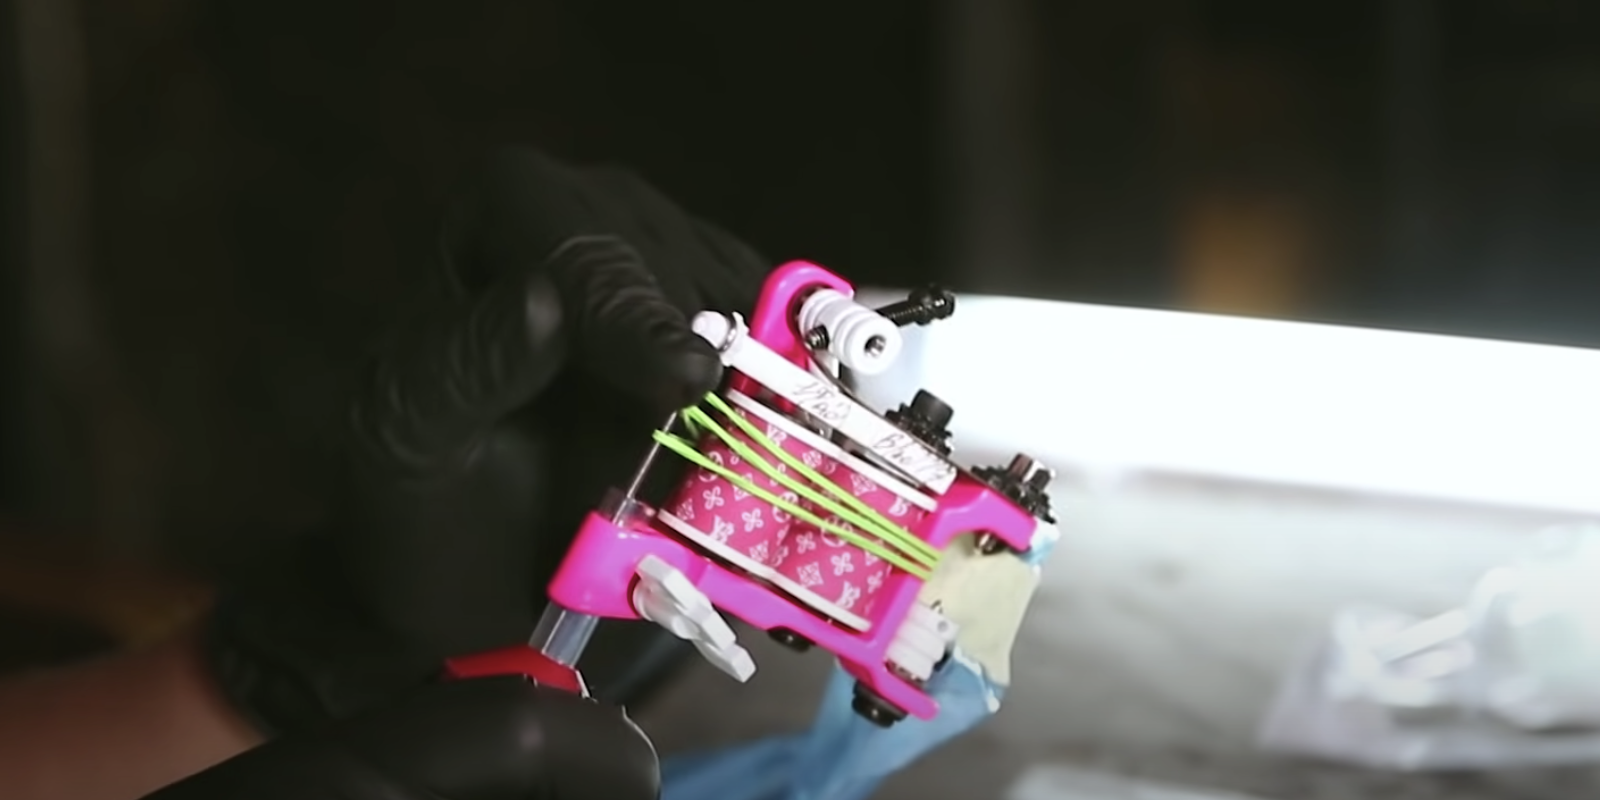
Using Rubber Bands
Select rubber bands according to the tension you prefer. Use two thicker bands or three thinner ones. Wrap them evenly around the machine to keep the needle stable during operation.
Connecting the Clip Cord
Connect the clip cord to the machine. On Vlad Blad machines, polarity doesn’t matter thanks to bipolar capacitors, but always double-check if you're using a different brand.
Final Checks
Setting up a Clean Zone
Place the assembled machine on a clean tissue or sterile pad to maintain a contamination-free area before starting your tattoo session.
Video
Watch our quick setup video for visual reference (english subs are available).
Step-by-step Guide

Precision and cleanliness are your best allies in tattooing. A properly set up machine ensures smoother work, better results, and happier clients. Don’t rush—master your tools, and always work with care.
Have questions or need a walkthrough on another aspect of tattooing? Leave a comment below. And remember: tattoo with passion, practice with patience, and always use the right tools.